Sharpening a knife properly is less about strength and more about patience: light pressure, a consistent angle, and knowing what a burr feels like. This walkthrough covers the whole process from choosing a method to testing the finished edge, whatever tool you’re using — electric machine, guided-angle system, or a freehand whetstone. Haven’t picked a sharpener yet? See our best knife sharpeners to compare electric, guided and stone options first. (Updated for 2026.)
What you’ll need
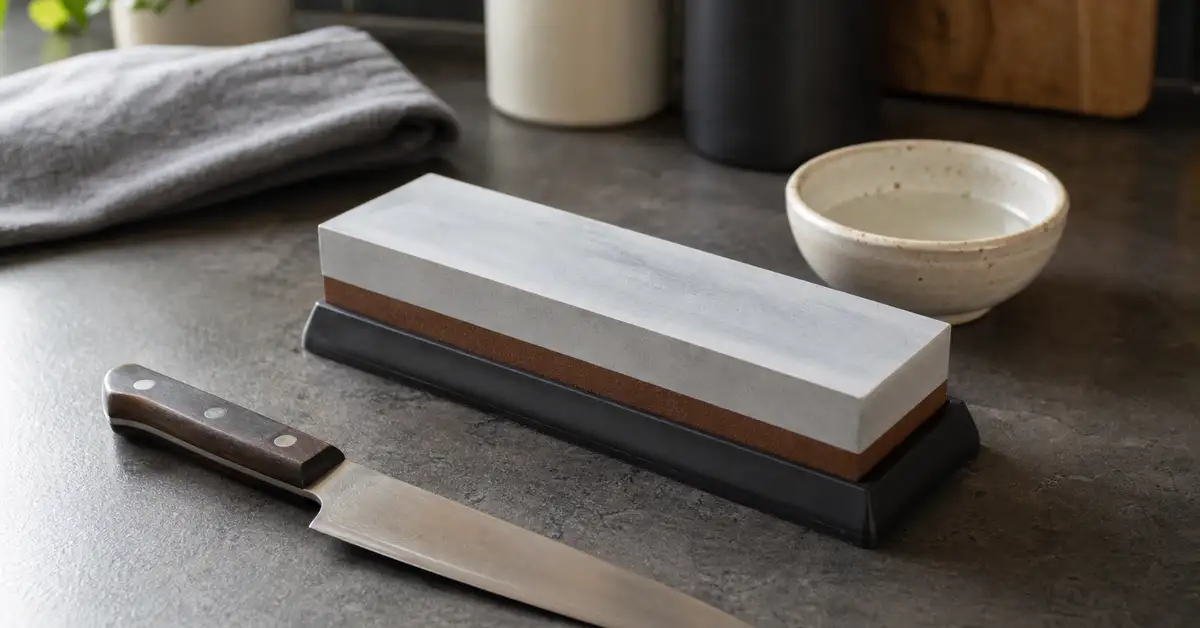
A sharpener suited to your knife and patience for technique (electric, guided-angle, or a whetstone — compare options here), a stable, non-slip work surface, good light, and a little water if you’re using a stone. A leather strop is optional but helps the final finish. Once you’re done, a honing rod is what keeps the edge working between sharpenings — see honing vs sharpening for why the two aren’t the same job.
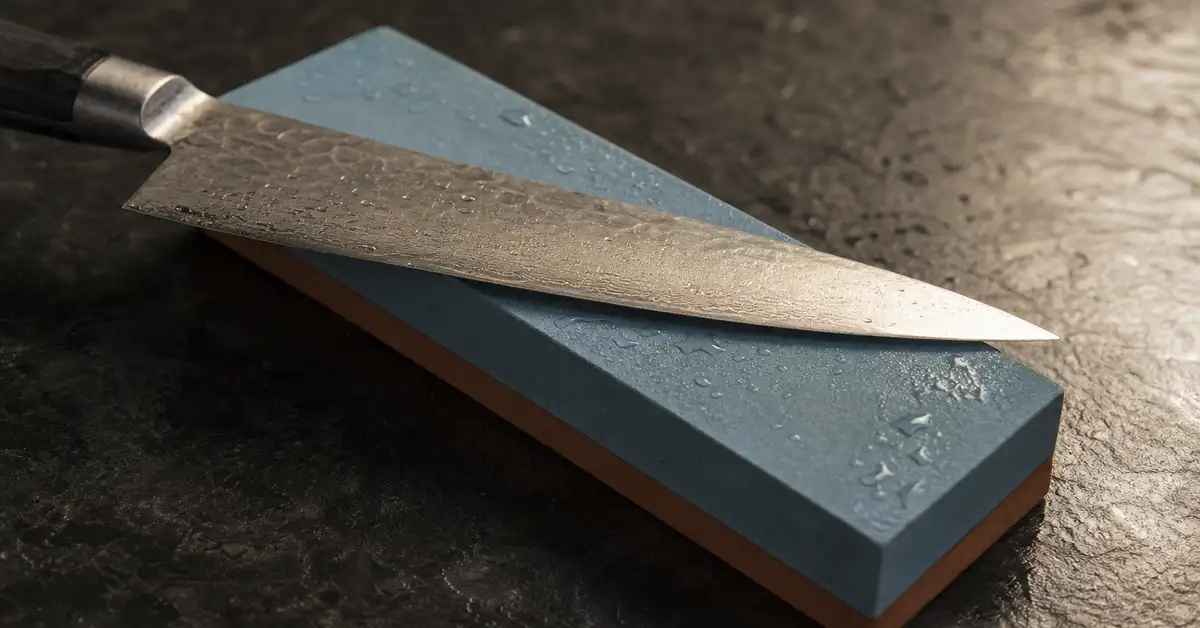
How to sharpen a knife, step by step
1. Choose your sharpening method
Electric machines, guided-angle systems and freehand whetstones all produce a genuinely sharp edge — the right one depends on how often you’ll sharpen and how much technique you want to learn. Electric machines are fastest and most consistent but remove the most metal per session; guided systems balance control and speed; whetstones give the most control and the gentlest metal removal but ask the most of your technique. If you haven’t chosen a tool yet, compare them in our full sharpener guide before you start.
2. Set up a safe, stable station
Secure your stone or guided system on a non-slip base on a stable counter, work in good light, and keep the area around you clear and dry. If you’re using a whetstone, follow its own instructions for water — some need a brief soak, while many modern ceramic stones are designed to be splash-and-go rather than soaked. Keep your fingers behind the blade’s spine whenever you check the edge, and never run a finger along the cutting edge itself to test sharpness.
3. Find your knife’s edge angle
Match the angle to the knife: Western-style chef’s knives are typically sharpened at a wider angle per side, built for durability through chopping, while Japanese-style knives (gyuto, santoku, nakiri) usually run more acute per side, favoring fine slicing. A guided system with marked angle settings removes the guesswork entirely. On a freehand stone, aim for a steady, consistent angle held for the whole stroke — getting it perfectly identical on the very first pass matters less than keeping it consistent once you’ve chosen it.
4. Coarse grit: raise a burr
Starting at the coarsest grit your sharpener offers, draw the edge across the abrasive in smooth, even strokes, covering the whole blade from heel to tip. Use light, even pressure — you’re reshaping the edge, not sawing at the stone. Keep going on one side until you can feel a thin burr (a tiny lip of metal) running the full length of the edge on the opposite side. That burr is the reliable sign the coarse stage has actually reached the apex, not just polished the existing bevel.
5. Flip the knife, then move to a medium grit
Flip the knife and repeat the same coarse-grit strokes on the other side until you feel a matching burr running the full length of that edge too. Once both sides have raised a consistent burr, switch to a medium grit and repeat the process with lighter pressure. This stage refines the bevel you just created and starts reducing the burr rather than building a new one.
6. Fine grit or strop: remove the burr and polish
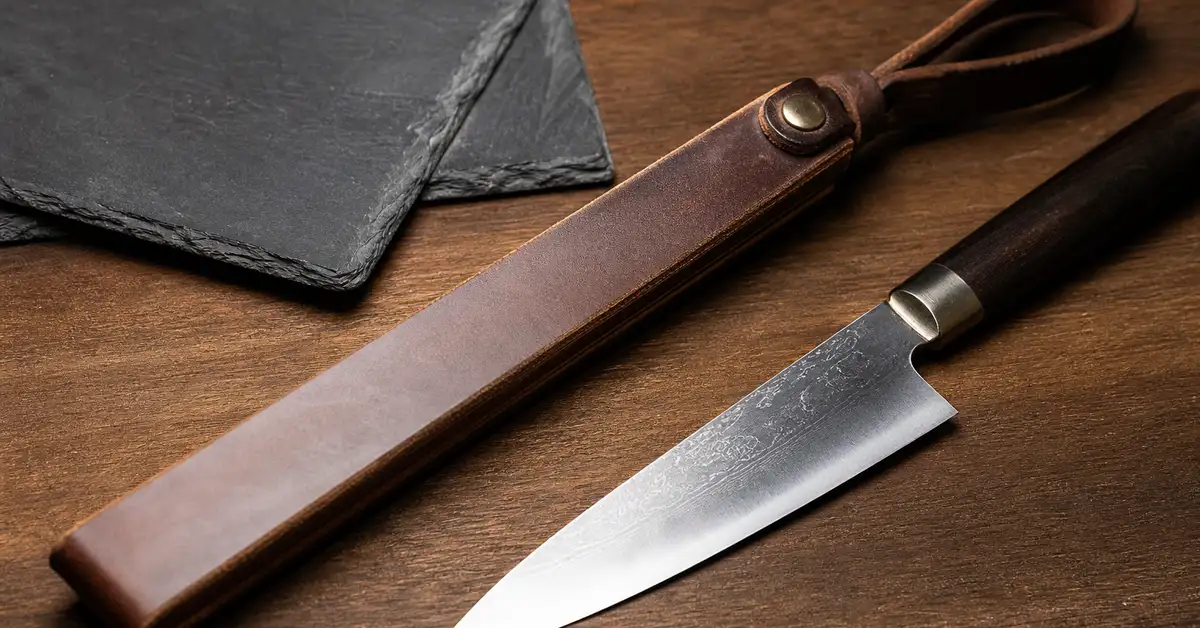
Finish on your finest grit, or a leather strop if you have one, using very light pressure — this stage’s job is cleaning up the remaining burr and polishing the apex, not removing more steel. Alternate a few light passes per side until the burr is gone and the edge feels clean and even on both faces.
7. Test the edge, then switch to honing
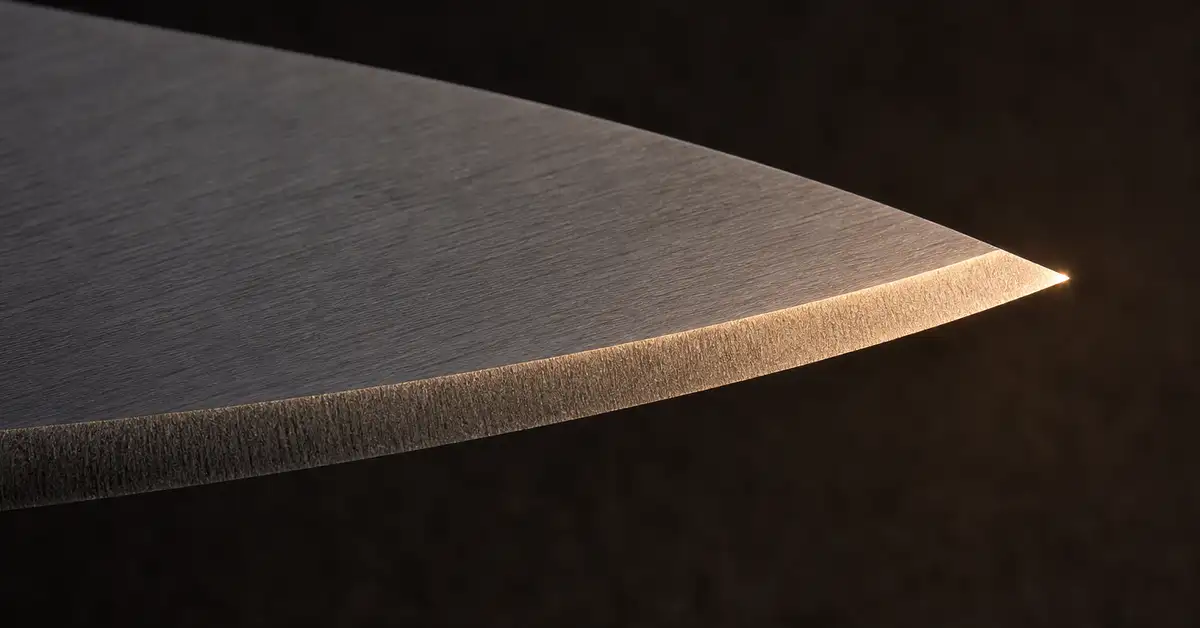
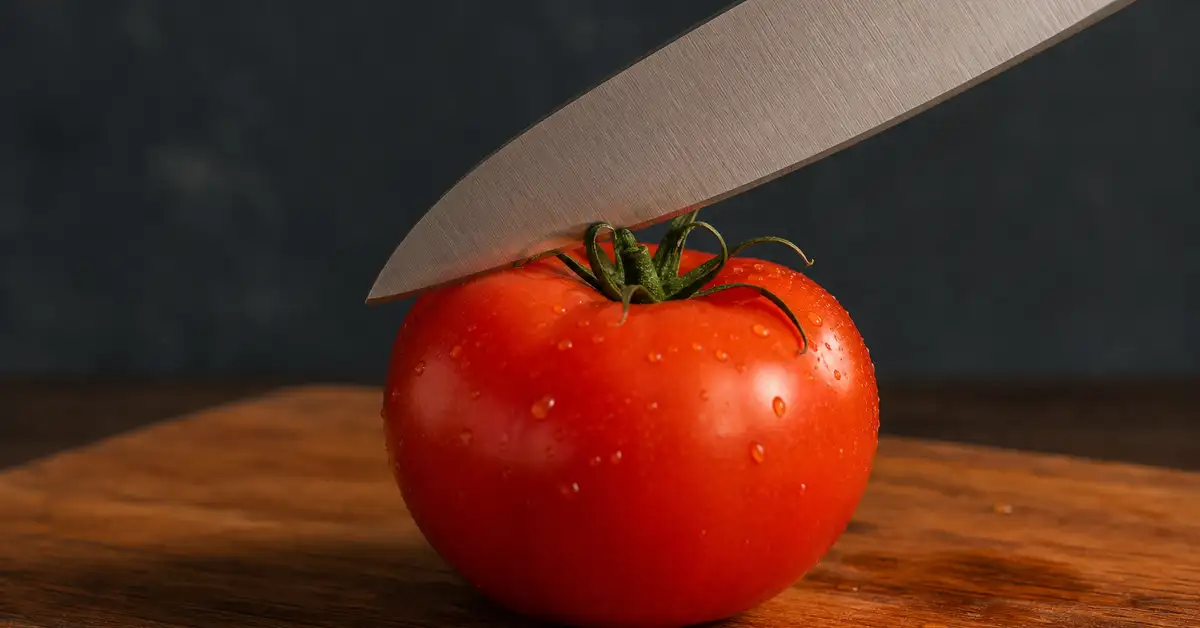
Check your work with a safe test rather than a finger along the edge: try slicing (not sawing) through a sheet of paper held in the air, or drawing the blade gently across a ripe tomato’s skin. A properly sharpened edge bites in cleanly with almost no pressure. From here, switch to maintenance mode — hone the edge lightly before most uses to keep it aligned, and save full resharpening for when honing stops restoring the bite. See honing vs sharpening for the full distinction between the two.
Signs you actually need to sharpen (not just hone)
- Honing doesn’t restore the bite: a few light strokes on a honing rod should make a slightly tired edge feel sharp again. If it doesn’t, the edge has genuinely worn down.
- It glances off tomato skin or crushes herbs: this can mean either a rolled edge (try honing first) or a worn one (sharpen if honing doesn’t help).
- You can see a visibly dull, rounded edge under good light: skip honing and go straight to sharpening.
Don’t have a sharpener yet?
Electric, guided-angle, manual and stone — we’ve honestly compared the options that are actually worth buying in 2026.
Frequently asked questions
How often should I sharpen a knife?
Roughly twice a year for typical home cooking, more often if you cook daily, use a harder cutting surface than wood, or cut through bone and dense vegetables regularly. Hone far more often than you sharpen — see honing vs sharpening for the distinction.
What angle should I sharpen at?
Match your knife’s own factory angle — generally wider per side for Western-style knives and more acute for Japanese-style knives. A guided system with marked angle settings takes the guesswork out; on a freehand stone, aim for a steady angle you can hold consistently for the whole stroke.
How do I know when I’ve raised a burr?
Run a finger gently from the spine toward the edge (never along it) on the side opposite where you’ve been sharpening. A burr feels like a very fine, slightly rough lip of metal running the full length of the edge — that’s your sign to flip the knife and repeat on the other side.
Is it safe to sharpen a knife at home?
Yes, with basic precautions: secure your sharpener on a non-slip surface, keep fingers behind the blade’s spine when checking for a burr, use light and controlled pressure, and follow the manufacturer’s instructions on any electric machine. A sharp, well-maintained knife is actually safer to use than a dull one, since it needs less force and is less likely to slip.
Do I need different tools for Japanese knives?
Not necessarily different tools, but different settings and care. Japanese-style knives run harder and more acute per side, so a gentler abrasive (a quality whetstone or ceramic rather than aggressive diamond) and a shallower angle setting protect the steel better. See our sharpener guide for picks suited to harder steels.
What if honing doesn’t fix my knife?
That’s the reliable sign you need to actually sharpen rather than hone. Honing only realigns an edge that’s bent slightly out of true; once the edge has genuinely worn down, only grinding away a small amount of steel — sharpening — brings it back. See honing vs sharpening for the full picture.
The bottom line
Good sharpening comes down to patience and a few repeatable steps: pick a method suited to your knives, find the right angle, work coarse to fine while feeling for the burr, and finish with a light touch. Do this every six months or so, hone in between, and a good knife will keep rewarding you for years. If you’re still choosing your tool, see our best knife sharpeners, and once you’re set up, honing vs sharpening explains how to make the edge last between sessions.
Sources & method: Technique synthesized from sharpening-specific technical writing at Serious Eats and EdgePro, specialist guidance from KitchenKnifeGuru, and the broader editorial consensus reflected in America’s Test Kitchen, Good Housekeeping, Outdoor Life and MeatEater’s sharpener coverage. Safety guidance informed by general knife-safety writing at Amazing Ribs. We don’t physically test knives or sharpeners ourselves — here’s how we choose.